Photobucket Photobucket Photobucket
*** Please excuse my terribly bland and awkward blog appearance. I'm working hard on making it look pretty . . . it's QUITE time consuming!! ***
Showing posts with label Halloween. Show all posts

Thursday, September 2, 2010

Halloween Luminaries

I'm on a bit of a Halloween Decor kick lately!! The season change is quickly approaching and I've already got Bucket's costume pattern and ready to go. I'M GETTING EXCITED!!! Anyway, I decided to make a few new luminaries to add to my collection, and of course I put a set on ETSY as well :)


I started with some Cylinder vases from $TREE. I used mod-podge and white tissue paper that I cut into strips, and applied them to the OUTSIDE of the glass. Once it was dry I used some watered down brown paint to age the paper a bit. Then I used my CRICUT and SCAL to cut out some spooky black images out of cardstock and then mod-podged 'em on. Throw a t-lite inside and VOILA!! They look awesome right? And sooooo easy, kinda time consuming but still easy!!


Bats are creepy, but PERFECT for Halloween.


This haunted house is my favorite!!


and lastly, this nasty crow!! I'm not a fan of birds or other flying creatures, you could say I'm a tad bit terrified. Luckily this guy won't come to life and fly around anytime soon!!


And here they are unlit . . . If you make some, I wanna see!!!

Tuesday, August 31, 2010

FAH-bulous Halloween Countdown Calendar!!!

Ok ... I was perusing ETSY the other day for inspiration. I'm not the only one who does that right??!! Well, I came across this beauty ...


click here for source

I fell in love with it as soon as I saw it, but I wasn't loving the $65 price tag!! I knew I could make it for nothing, since I already had everything on hand.

I started with an 8 x 10 frame that I had lying around and I sanded it a bit and gave him a few coats of pumpkin orange paint. Once the orange was dry I gave him a few coats of black gloss spray paint. Waited a few hours and then lightly sanded the edges and corners so the orange would peek through.


This started out as a plain white 12 x 12 embossed piece of cardstock. I inked the edges and all over with orange and black ink.


I used some black and white, and orange scrapbook paper to give some more layers and texture. I decided it needed a little more, so I glued some rhinestones down the side.

That was the easy part ... what I did next took A LOOOONG time, like a few hours :( but only because I'm a perfectionist :)

I made 31 cards, one for each day of the countdown.

The first 30 cards are white with black numbers, and the 31st card is black with white. I used my CRICUT and SCAL to cut out every number and all of the little embellishments. That's what took so long, because I had to pick out the fonts and search the web for the little embellishments. I continued the inked edges on each of the cards as well. The embellishments are bats, a cat and a moon, a crow, skulls with rhinestone eyes, polka dots and random Halloween-ish words.


I used a plain binder clip to hold all the cards.

I tied some coordinating ribbons and a boa to the clip and added another rhinestone ;)


I cut the point off a white thumbtack and hot glued it to the paper. I can't decide if I want to mod podge all of this to the glass or not. So, right now, it's just sitting in front of the glass in the frame.


After I started taking pictures of the finished project I realized that I wanted to add a little something more. So, I added another little rhinestone eyed skeleton to a round metal ringed tag and hung it on the clip.


Here she is all dressed up and ready to strut her stuff!!


I wanted to have the option to hang it on the wall as well, so I added this ribbon and made the bow and attached a few feathers with a bottle cap and a little rhinestone.


After I made the bow to hang on the wall I thought it would be cute on the frame and I'm not gonna lie, I dig it this way too!! So many different options!!!

So, my finished project is a bit different from the inspiration piece. But considering it cost me NOTHING, I'm not going to complain. Beside, my cards are all hand inked and each number and embellishment is cut out and glued on. The original cards are machine printed, they are GORGEOUS but mine are a bit more personal :)

Anyway, let me know what you think. And if you are diggin' this beauty as much as I do, its in my ETSY store!!!!


I'm linking up to these AWESOME partays!!!

Make it Yours @ My Backyard Eden


CreativeShareWednesdays


Show and Tell Green


Friday, October 2, 2009

Seriously like the CUTEST thing I have ever made ... besides my son of course :)


Ok, so I LOVE LOVE LOVE the way this turned out!!! I've had my eye on the set of 5 paper mache nesting boxes but I never really knew what I would do with them. Anyway, I went to JoAnn's today with the intentions of getting the material for Bucket's skunk costume and while I was gathering it all up I realized that the costume was way too intense and expensive for a 7 month old, so I scrapped it and walked around. I had my 40% and 50% off coupons so I decided to spring for the boxes (usually $20 but only $10 with the coupon, SCORE, I'm going back for another set with my other coupon).I love Halloween but have never really had a lot of decorations for it so I decided these boxes would become something SPOOKTACULAR!! The scrapbook paper at JoAnn's is horrifying (and I really mean it, they have one little aisle). So, I went to Roberts and picked up the paper and some of the little things that I used to embellish. All of the Halloween Decor was 50% off, ANOTHER SCHORE!! I bought the skulls at the Dollar store, great find!!I started by covering all the boxes in the paper AND lots of decoupage and then went to work stacking and decorating!! The googly eyes on the Bottom Box are SUPER FUN ... Kinda time consuming to wrap all the paper and then to put a few good coats of decoupage but super easy!! Seriously, my mom is trying to talk me into letting her have it so she can decorate her office with it ... I am totally going to make some Christmas ones and probably even Thanksgiving, just because I love how these turned out.


Wednesday, September 30, 2009

Spooky Monsters


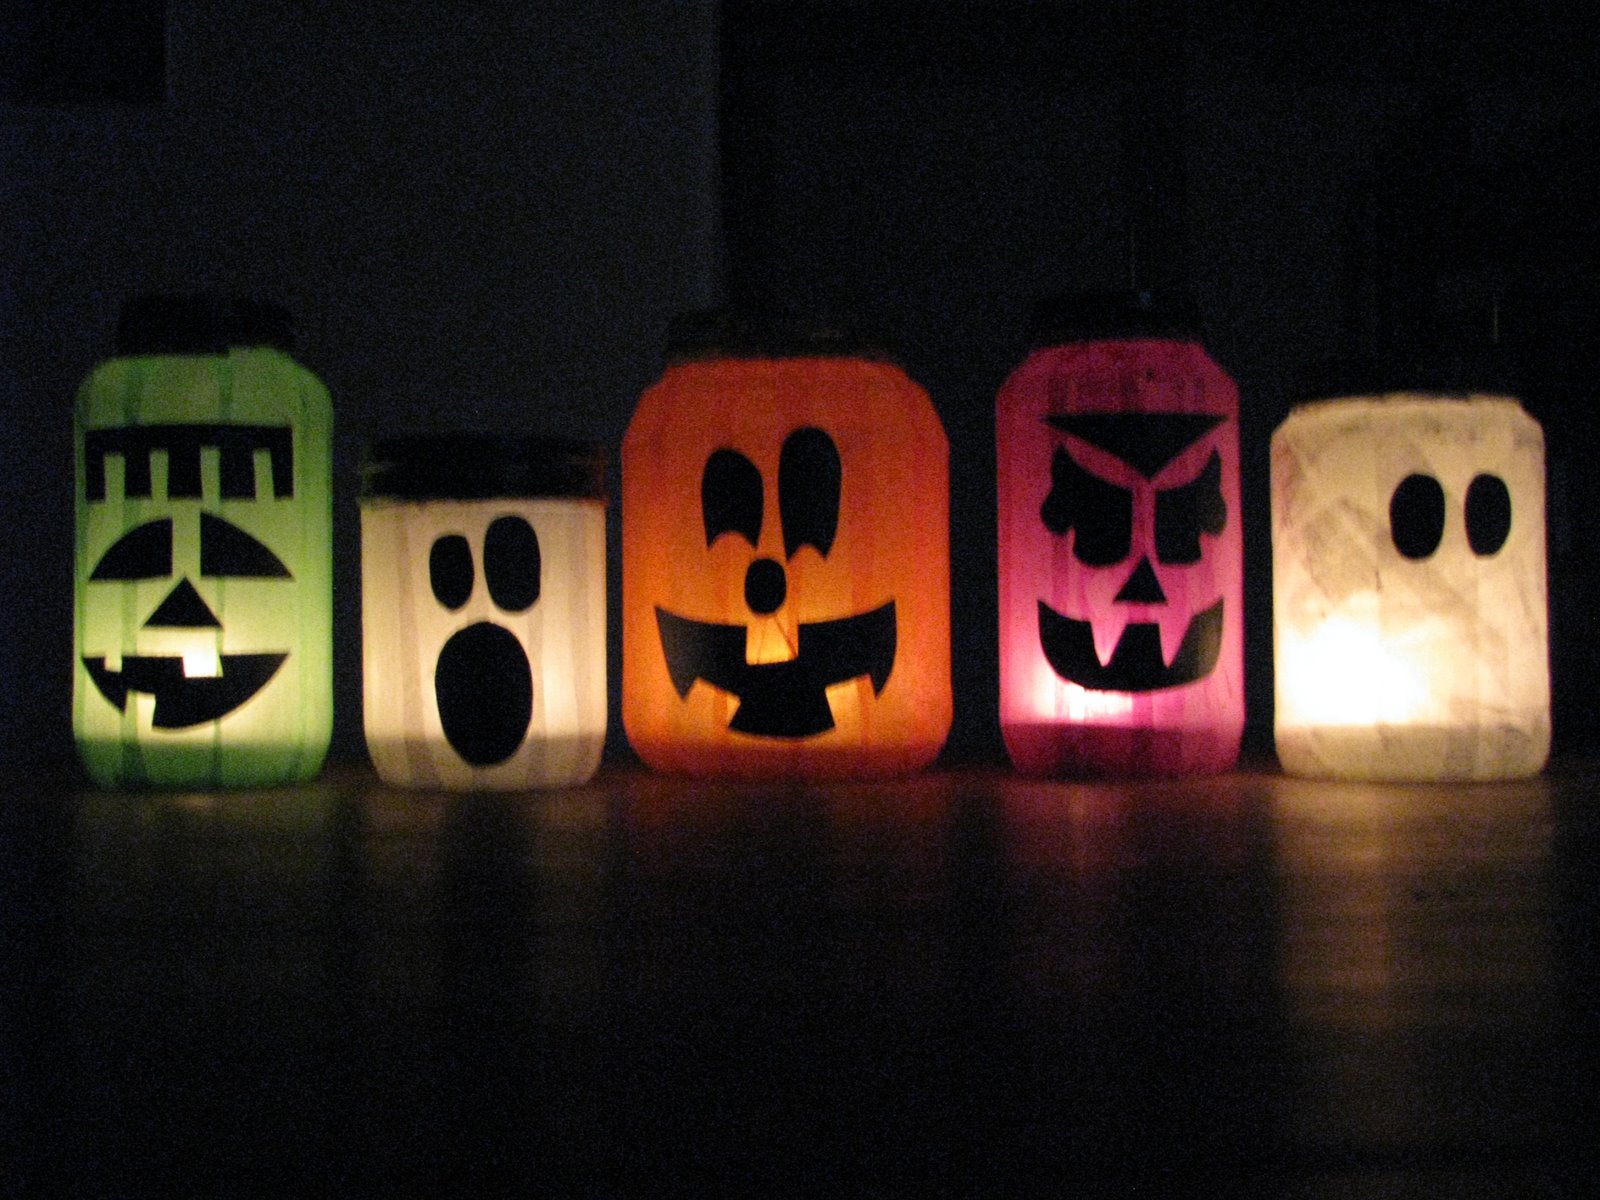
Funny story about these guys ... I was doing my usual late night craft blog reading and I came across these cute little guys, at this site. They are just empty jars, tissue paper, mod-podge and black paper TOTALLY EASY. Click here for the HOWTO. Anyway, I knew that I was going to make them and seriously the next day I got an email from the Relief Society saying that we were making these for an upcoming craft night. HAHA funny right? Well maybe not really, but I thought it was.

Anyway, she shows them with white twinkle ligts strung in them but I like the tea-lite idea better because I can move them wherever I want and I don't have to worry about the cord sticking out. Seriously, you should make these, they would even be a cute little neighbor gift or something.
Posted by Picasa

Friday, September 25, 2009

Spooky Halloween Decor


I had some extra 6x6 wooden plaque's lying around so I thought I would make this cute little Frankenstein Door or Wall or anywhere you like Hanger. I hand painted the Boo and the frankenstein (I'm sure you can tell by the clumpy paint, it took a few re-dos) then I sanded the edges, drilled 2 holes, added some ribbon and that was it!! The finished result turned out just like I envisioned. But next time I will use glow in the dark paint for the Boo so it will be extra Spooky. I think I may hang it on the Mail Center in the entry way upstairs ... I will post a pic of wherever I decide to rest it for the next month.