Ok girls, I'm super proud of this and I'm excited to show it to you. I have wanted to do something with bead board forEVAH and I finally did it!!. And the best part is that I made it all by myself!! Well, sort of, my dad did coach me along :)

- THE FINISHED PRODUCT!!
Let's start with the supplies:
- Bead Board from the Depot, you can get it at Lowe's but it's cheaper at the Depot. It's $9.95
- 1 x 3. Make sure you get the straightest one you can find. I had to dig through a bunch before I found the best one.
- Paint, in whatever color you choose.
- Sand paper
- Decorative knob
- 3 single hooks
- Miter saw or Miter box

- Bead Board all cut and ready
I wanted to make my plaque 2 feet square and the bead board comes in 7 inch x 32 inch pieces. I used 3 pieces and cut each of them down to 21 inches long with my miter saw. The pieces have tongue and grooves on the edges so they slide together easily. Now I have a square that is 21 inches on each side

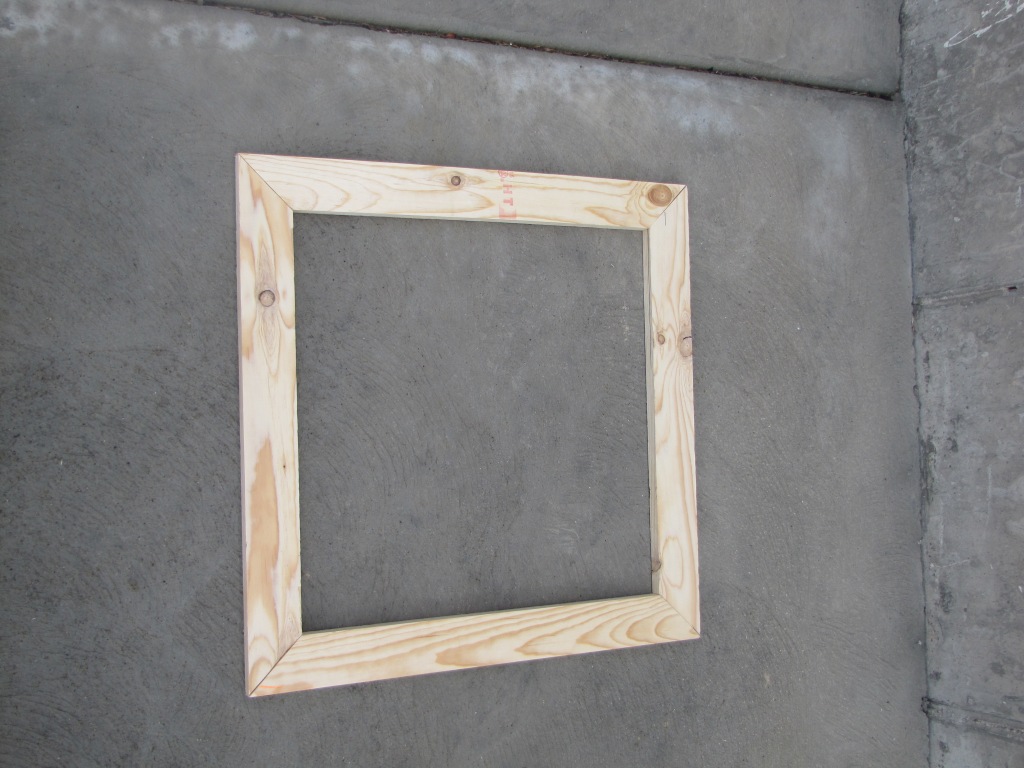
Now it's time to cut the 1 x 3. Using the miter saw again I cut a 45 degree angle every 24 inches. You need 4 pieces so do this 4 times and make sure that you cut the angle on the other end the opposite way of the first cut. I used a miter saw, but a miter box will do the trick and is less than $10 at the Depot. My drawing isn't perfect, but hopefully it gives you a better idea than my explanation.

Before you assemble the frame, lay the boards out to make sure the corners fit tight. Doing it this way will save you some headache if you realize the corners are wrong after its all nailed and glued together.
**** This next step isn't necessary and I will tell you later how to finish this without doing it this way. BUT since my dad is a contractor and he was guiding me through this, he INSISTED that I do it the CORRECT way ****
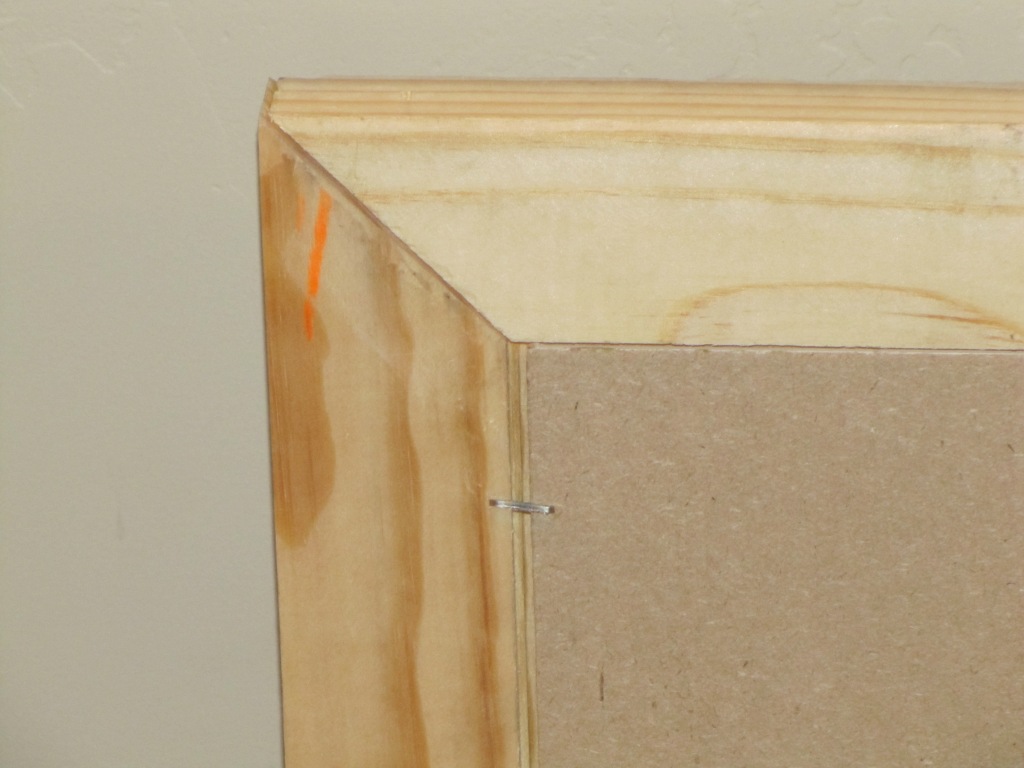
The step I am going to show you is called Mortise. I used the table saw to do it and it was actually SUPER easy. Mortise is cutting a notch out of the frame so that the bead board sits in the frame and it will hang flush against the wall. I'm sure its do-able without a table saw, but I have no idea how to do it, so I would suggest googling it :)

Sorry for the blurry pic, put it shows you the Mortise cut. Here's how you do it: First you measure the thickness of your bead board and that's how deep you will cut into the boards. My bead board is 1/4" inch and since I want the square to be 24" I cut 3/4" the other way. Now that the Mortise is cut it's time to assemble.

**** IF YOU CHOOSE TO NOT DO THE MORTISE YOU WILL ASSEMBLE THE FRAME ACCORDING TO THE DIRECTIONS BELOW AND THEN JUST STAPLE THE BEAD BOARD RIGHT TO THE BACK OF THE FRAME ****
I used a bit of wood glue to attach the corners then shot a nail on each side using my electric nail gun. If you don't have a nail gun, finishing nails and a hammer would work great. Now it's time to let the glue dry. Normally I would wait an hour or so but since my dad was overseeing, and we were doing it correctly, I let 'er dry over night. I was so excited to wake up the next morning and finish it!!

Attaching the bead board to the frame was super easy. I chose not to use glue so the wood could expand and retract if necessary with weather changes or whatever. I used the electric staple gun, SOOO much easier than the old fashioned staple guns, and stuck a few staples in her and called it good. I used some wood filler on one of the corners and to fill in the nail holes.

- Hooks
Now it's time to paint her up!! I used a flat black spray paint and once it was dry, I took my sand paper to the edges to show the wood and then sprayed a matte finish to seal everything in. I attached the hooks on the bottom using the screws they came with. I think this would be just as cute without them though, and it would save you about $6.00!!

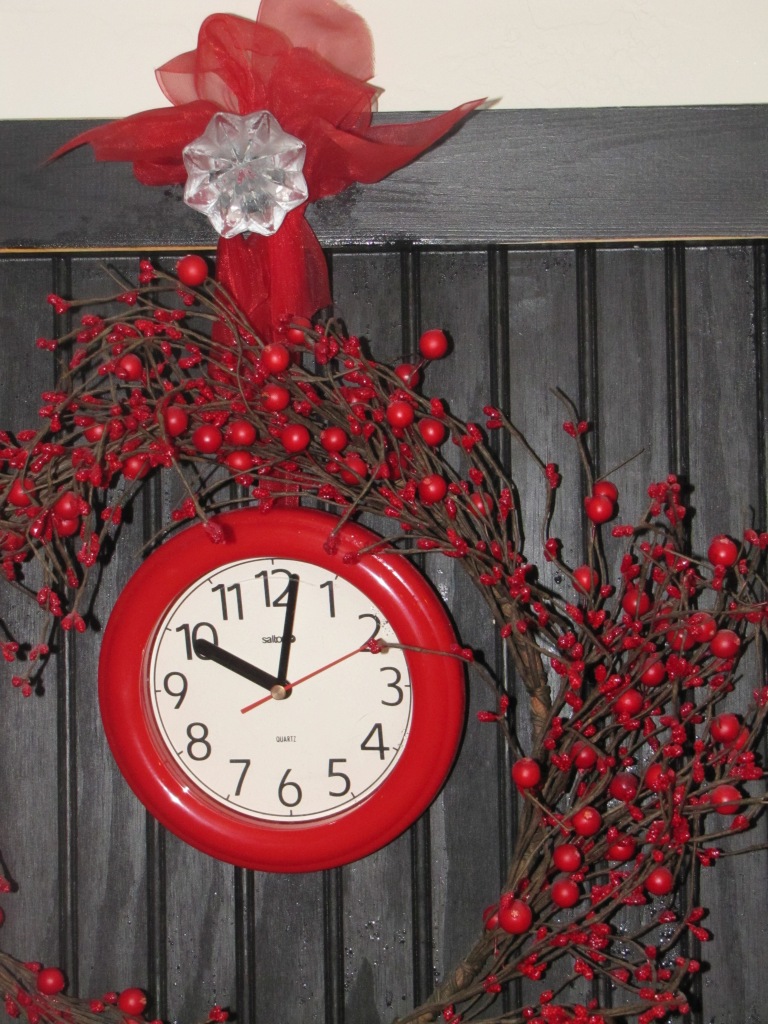
Here is a closeup shot of the knob and wreath ... I LOVE THE KNOB!!
Ok ladies, she's all done and from start to finish (not counting drying time) she took me about an hour. And the price is even better ... you ready??!!
$9.95 for the bead board
$6.00 for the hooks
$2.00 for the 1 x 3
$3.00 clock
Wreath, free since I already had it
Paint and sand paper free, already had them
FOR A GRAND TOTAL OF (DRUMROLL PLEASE) .... $20.95!!!! woo-hoo!! And remember that without the hooks it would only be $15.00 DANG I LOVE CHEAP STUFF THAT LOOKS TONS MORE EXPENSIVE!!!!!
And you know that I'm linking this up to my favorite parties ...


I am in love with that! Amazingly cute! Beadboard rocks and you made it a ROCKSTAR!!!
ReplyDelete[...] SO, IF YOU ARE LOOKING AT THIS POST AND HAVEN’T SEEN MY OTHER ONE, ITS A GIVEAWAY!!!!! CLICK HERE TO CHECK IT OUT, THANKS GIRLS!! [...]
ReplyDeleteI love beadboard, too. It's on my dining room walls, and gorgeous. Thanks for the miter box tip.
ReplyDeleteGorgeous!!
ReplyDeleteyou sucked me right in with the mention of beadboard...lovely lovely results! the black & red are just so crisp & yet just the right amount of vintage feel
ReplyDeleteLove the black and red together ... and the door knob is lovely!
ReplyDelete~ Emily N. from "too Blessed to Stress"
That is precious!!! I love it!
ReplyDeleteGreat job, so professional.
ReplyDeleteIt turned out great! I love beadboard and always look for it in the "damaged" area of local hardware/lumber stores!
ReplyDeleteBeautiful work!!!
ReplyDeleteGod's blessings,
Sarah :D
OH MY!!! I am so glad you linked this up. I was going to feature this when I first saw it, but then I thought I would save it for this party. I forgot about it!!!! THANK YOU! I am featuring it as the first project from the CC show at somedaycrafts!
ReplyDelete